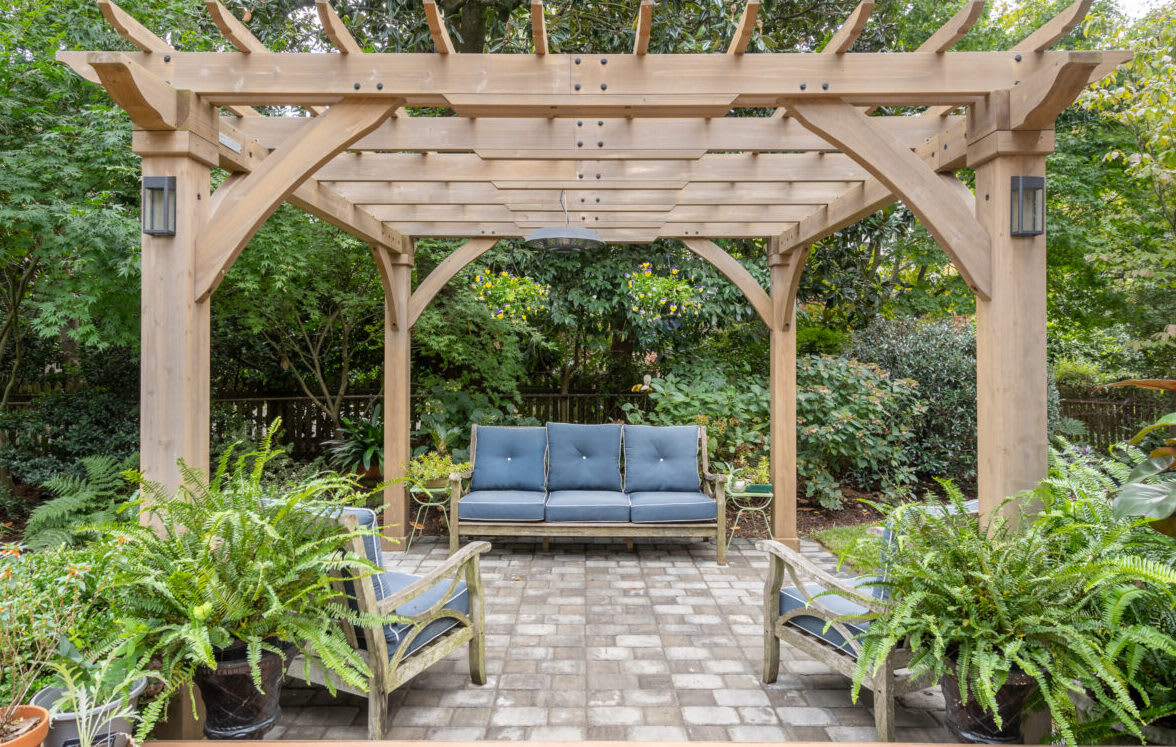
If you do get a stretch of reasonable weather, a great DIY project is installing a patio area using pavers. It could be a small project like laying an area for the grill, trash cans, or a bench in the yard, or it could be for a larger patio project you can use for years. It’s a relatively easy project, the hardest part is removing some soil and getting your pavers and material to the job site. The patio will require four inches of gravel, topped by one inch of sand, with the pavers going on top of the sand.
First, measure out your site so you’ll know how much material you will need. Start by calculating the square footage by multiplying the length and width of the area. If you have a 50 foot area, you’ll need 50 12” by 12” pavers. Your four inches of gravel calculates to 1⁄3 of a square yard, so to calculate your gravel supply, multiply your total square feet by 1⁄3. For your 1 inch of sand, you’ll need 1⁄3 the quantity of your gravel.
Second, dig out the excess soil based on your desired depth. After you determine the site and size of your project, you’ll need to calculate how much dirt will need to be removed. More if it’s at ground level, less if you’re creating a raised area with salt-treated lumber or another type of border. You also want to calculate a gentle slope away from the house to allow the water to run off, preferably a drop of one inch for every eight feet. Your patio will appear flat, but this grade helps control water flow. Drive in some garden stakes or rebar in the corners, and tie and level string or mason’s line to use as a guide. Use a tape measure from the line to measure depth. Use a spade (flat edge) and shovel to clear out the dirt. If the soil is decent, consider making a raised bed with it instead of hauling it off-site.
Third, add the paver base, which is a specialized gravel that levels easily. Sold in bags at big box stores, or available in bulk at garden supply centers. Once the base is at the desired level, use a manual compactor to compact the area. Renting a plate compactor for larger jobs will save time and effort. Once compacted, give the area a light spray to help the base solidify.
Fourth, it’s sand time. To easily keep the depth at 1 inch, place 1” sections of electrical conduit on top of the base and pull a 2×4 across them to remove the extra sand. Work from one side to the other, removing the conduit when done and filling the space with sand. Use a level to check your work.
Fifth, place the pavers on top of the sand. Start in a corner and work your way out as if you were laying a triangle. Place, don’t drag, your pavers on the sand and set them snugly against other pavers.
Sixth, if you need to cut the pavers use a masonry saw and wear protective gear. When designing your patio, working with the dimensions of the pavers will avoid the cutting stage.
Seventh, edge your patio with border pavers, or you can use salt-treated lumber or plastic edging material. This step keeps your pavers from moving over time.
Finally, finish your patio by spreading a thin layer of fine sand (I’ve found that sandbox sand does better than construction sand) on top, then sweeping it between the paver gaps with a broom. Use the compactor on the surface, then repeat the process one more time. That’s it, you’ve made yourself a patio!


